Deutsch
 English
 Francais
 Español
 Italiano
 Nederlands
 Polski
The current weather situation is bringing lots of snow to many parts of Germany. This also offers an exciting opportunity for naturalists.
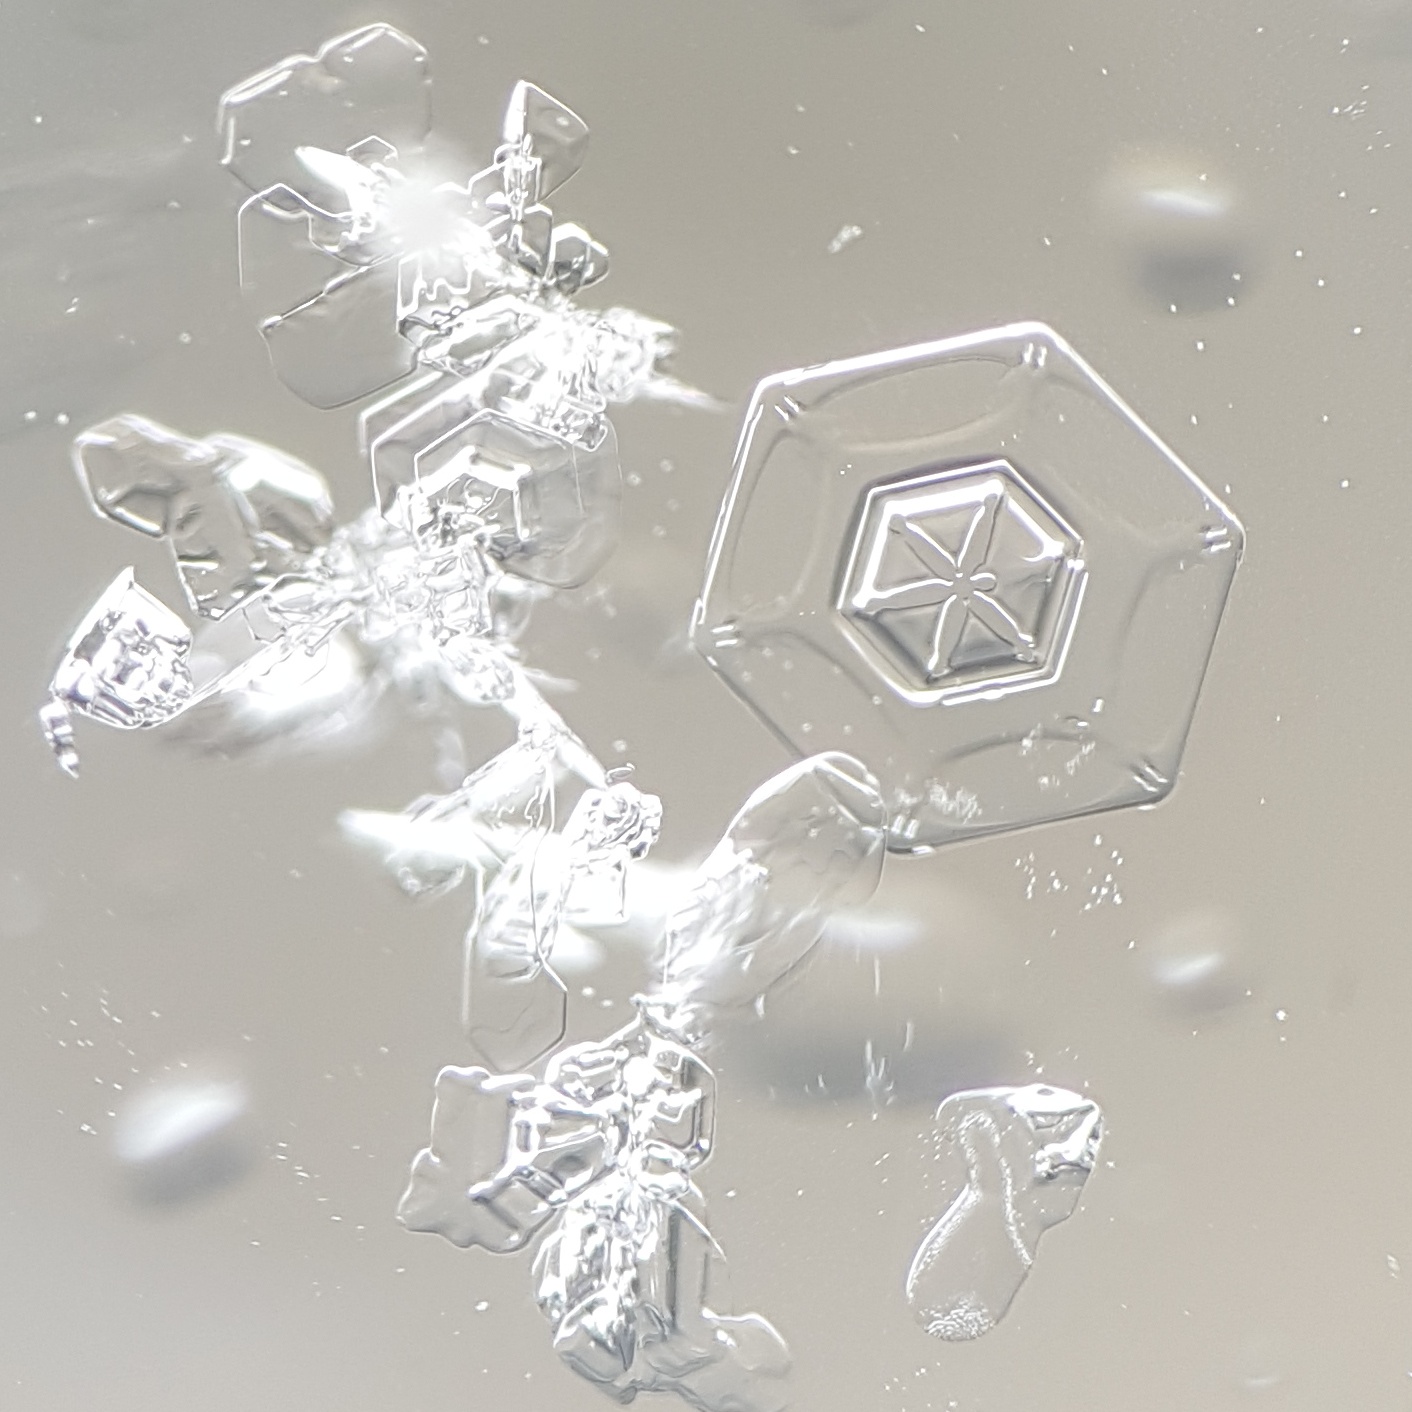
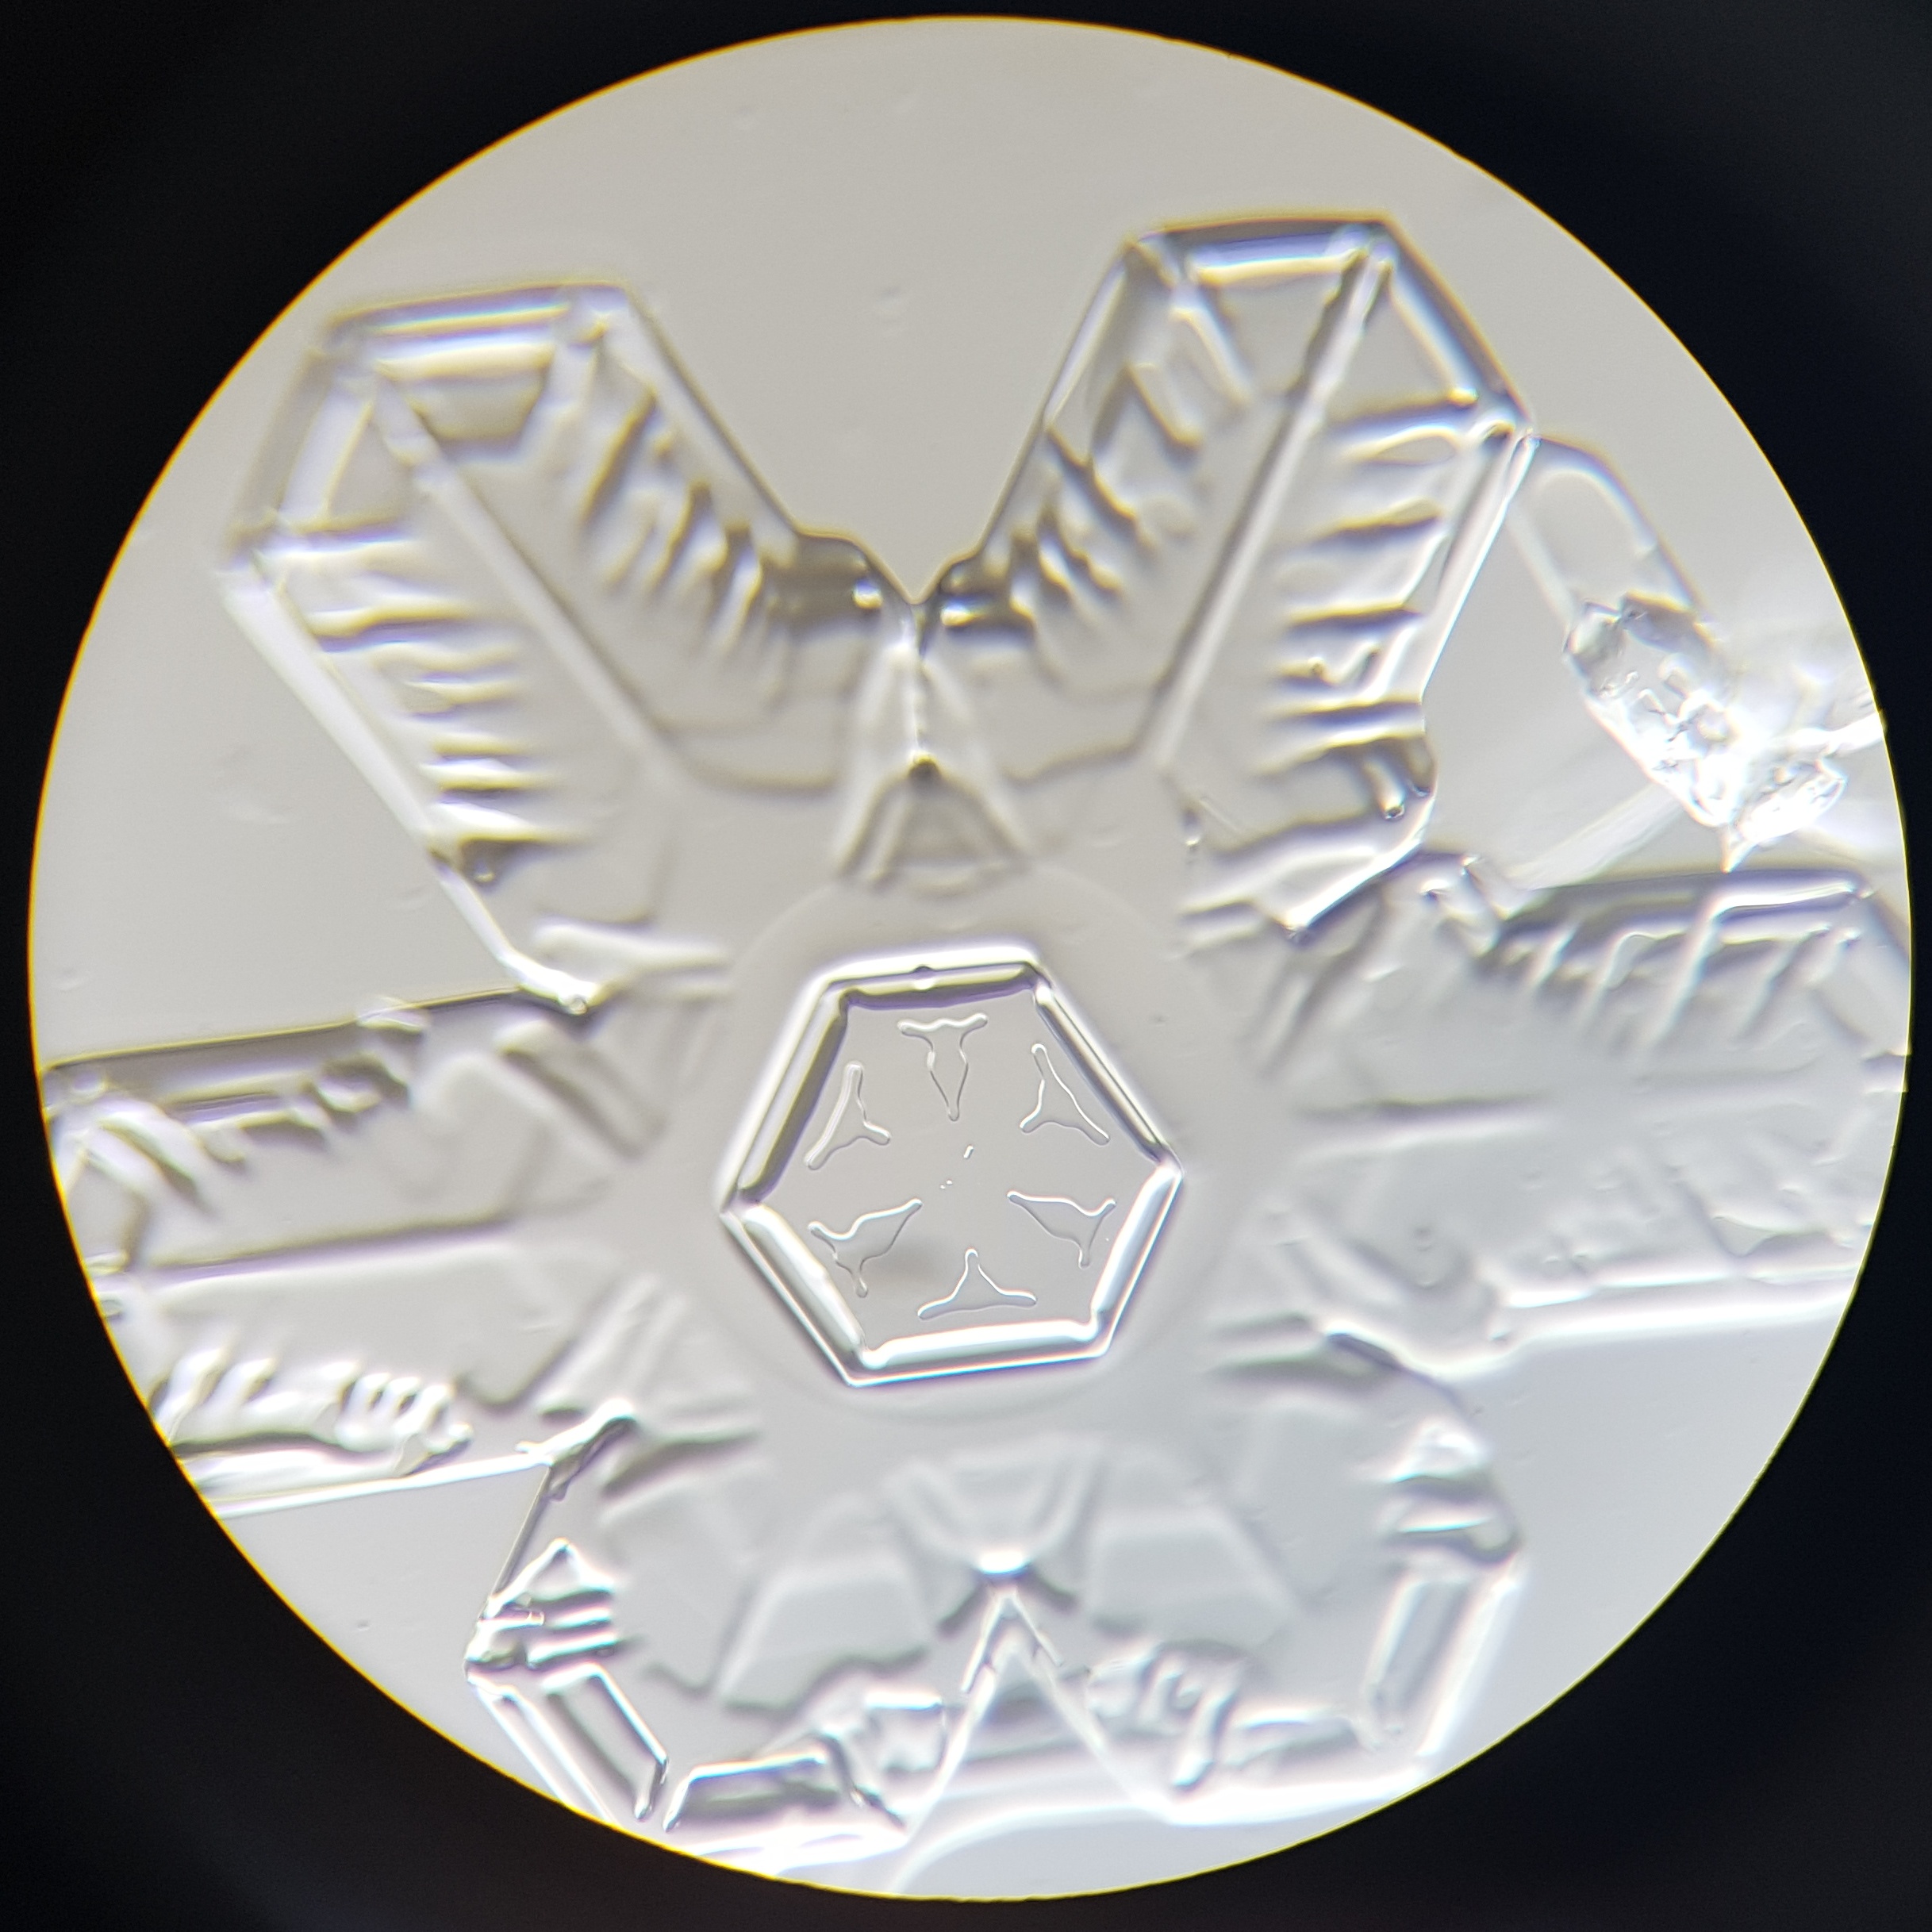
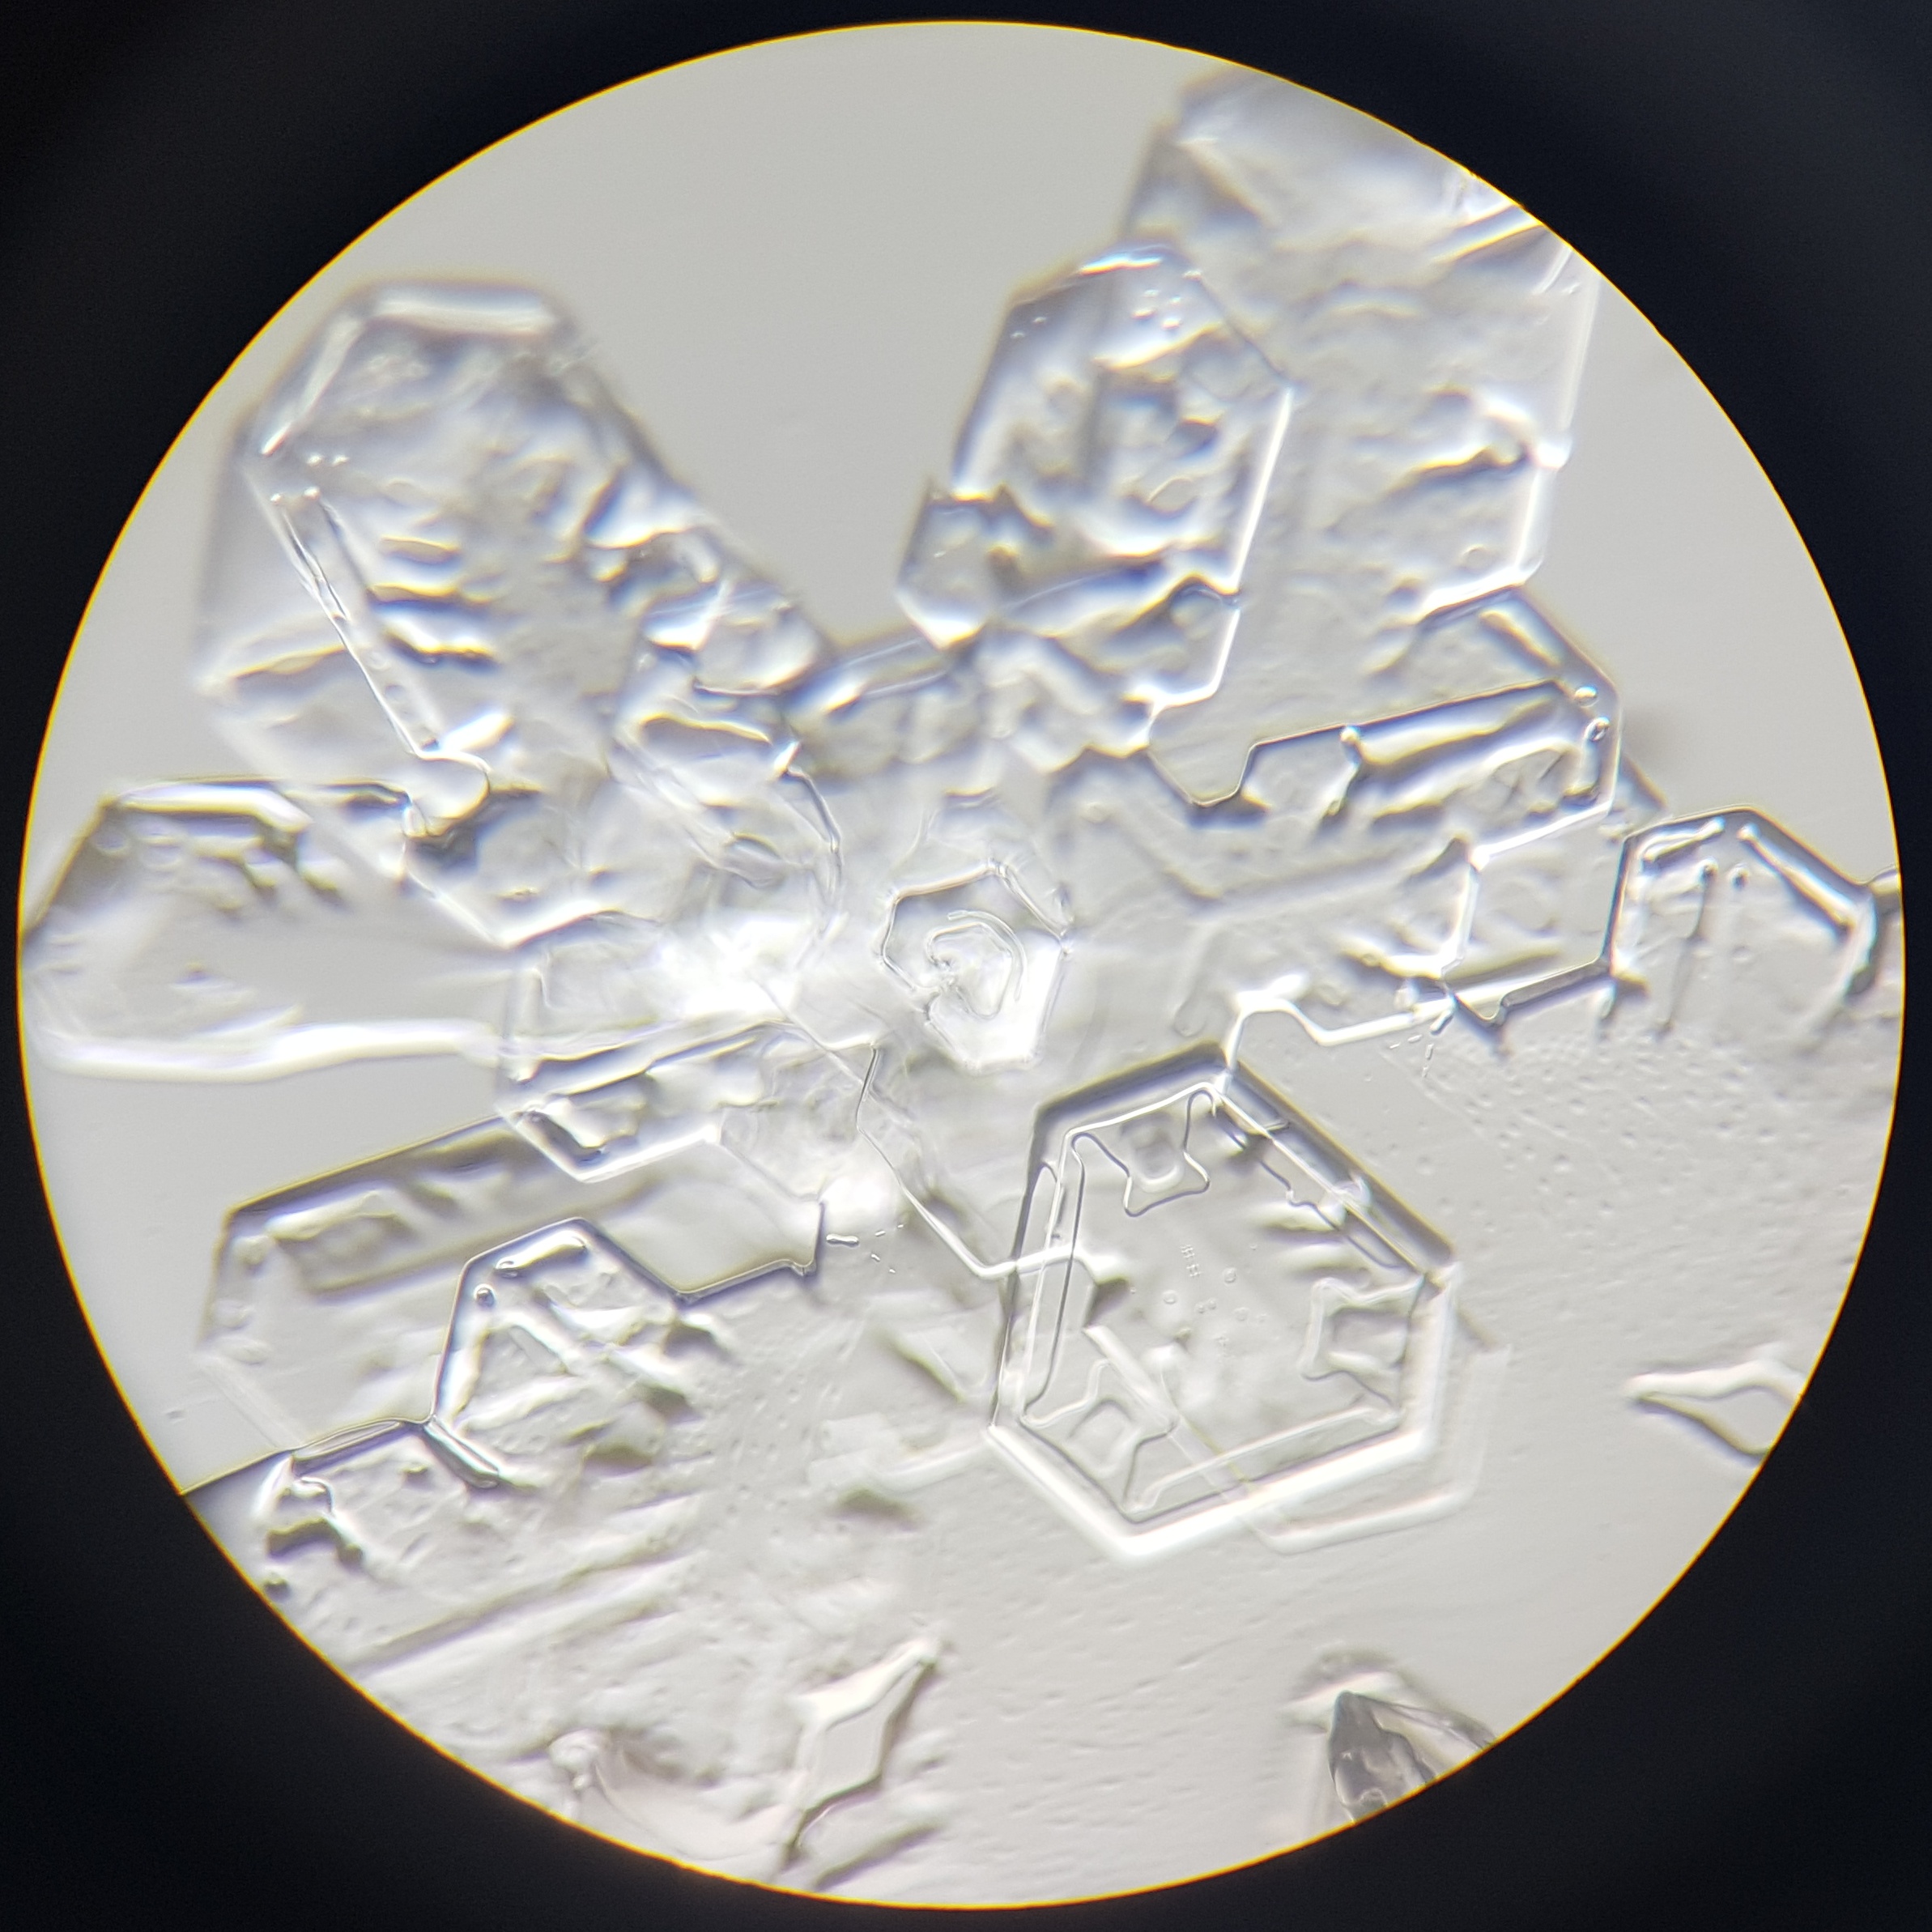
Snowflakes do not always look star-shaped: The temperature determines the shape of the snow crystals. These pictures with our travel microscope show what wonderful works of ice art air and water produce.
Click on the images to view them larger.
The pictures were taken with our BRESSER Science XPD-101 expedition microscope and the BRESSER Deluxe smartphone adapter using a smartphone.
What is the difference between ice crystals and snowflakes?
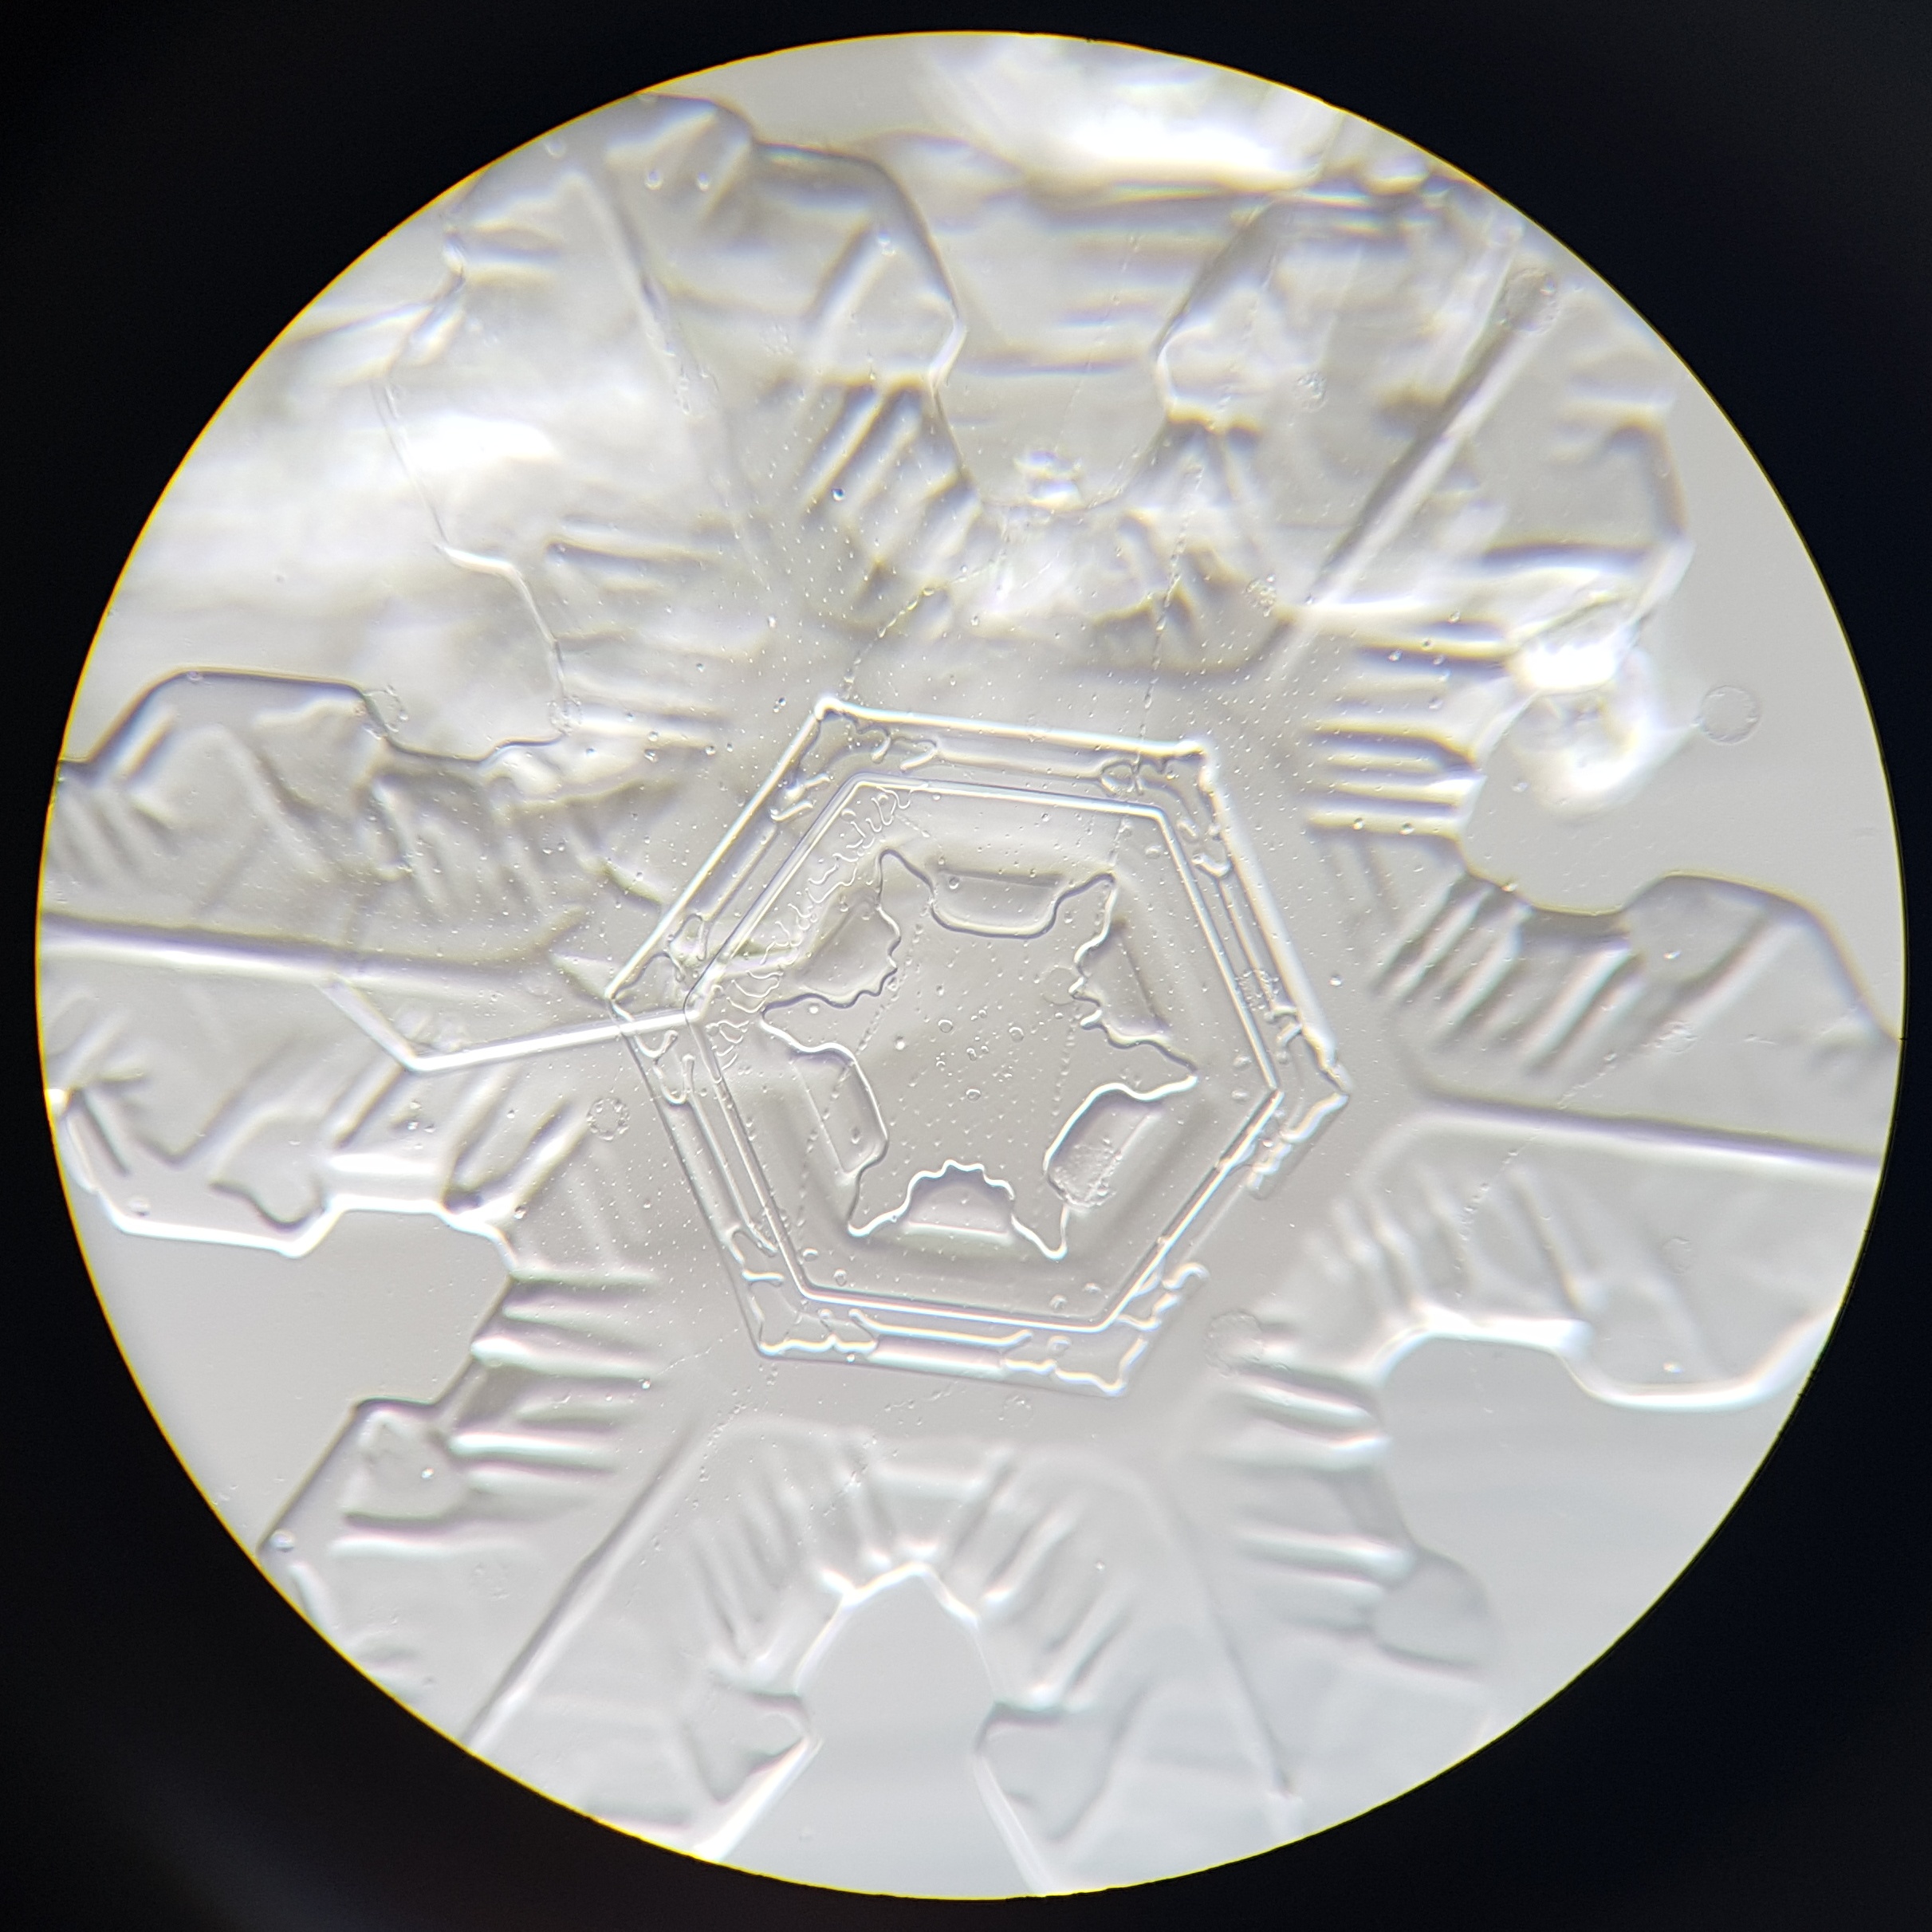
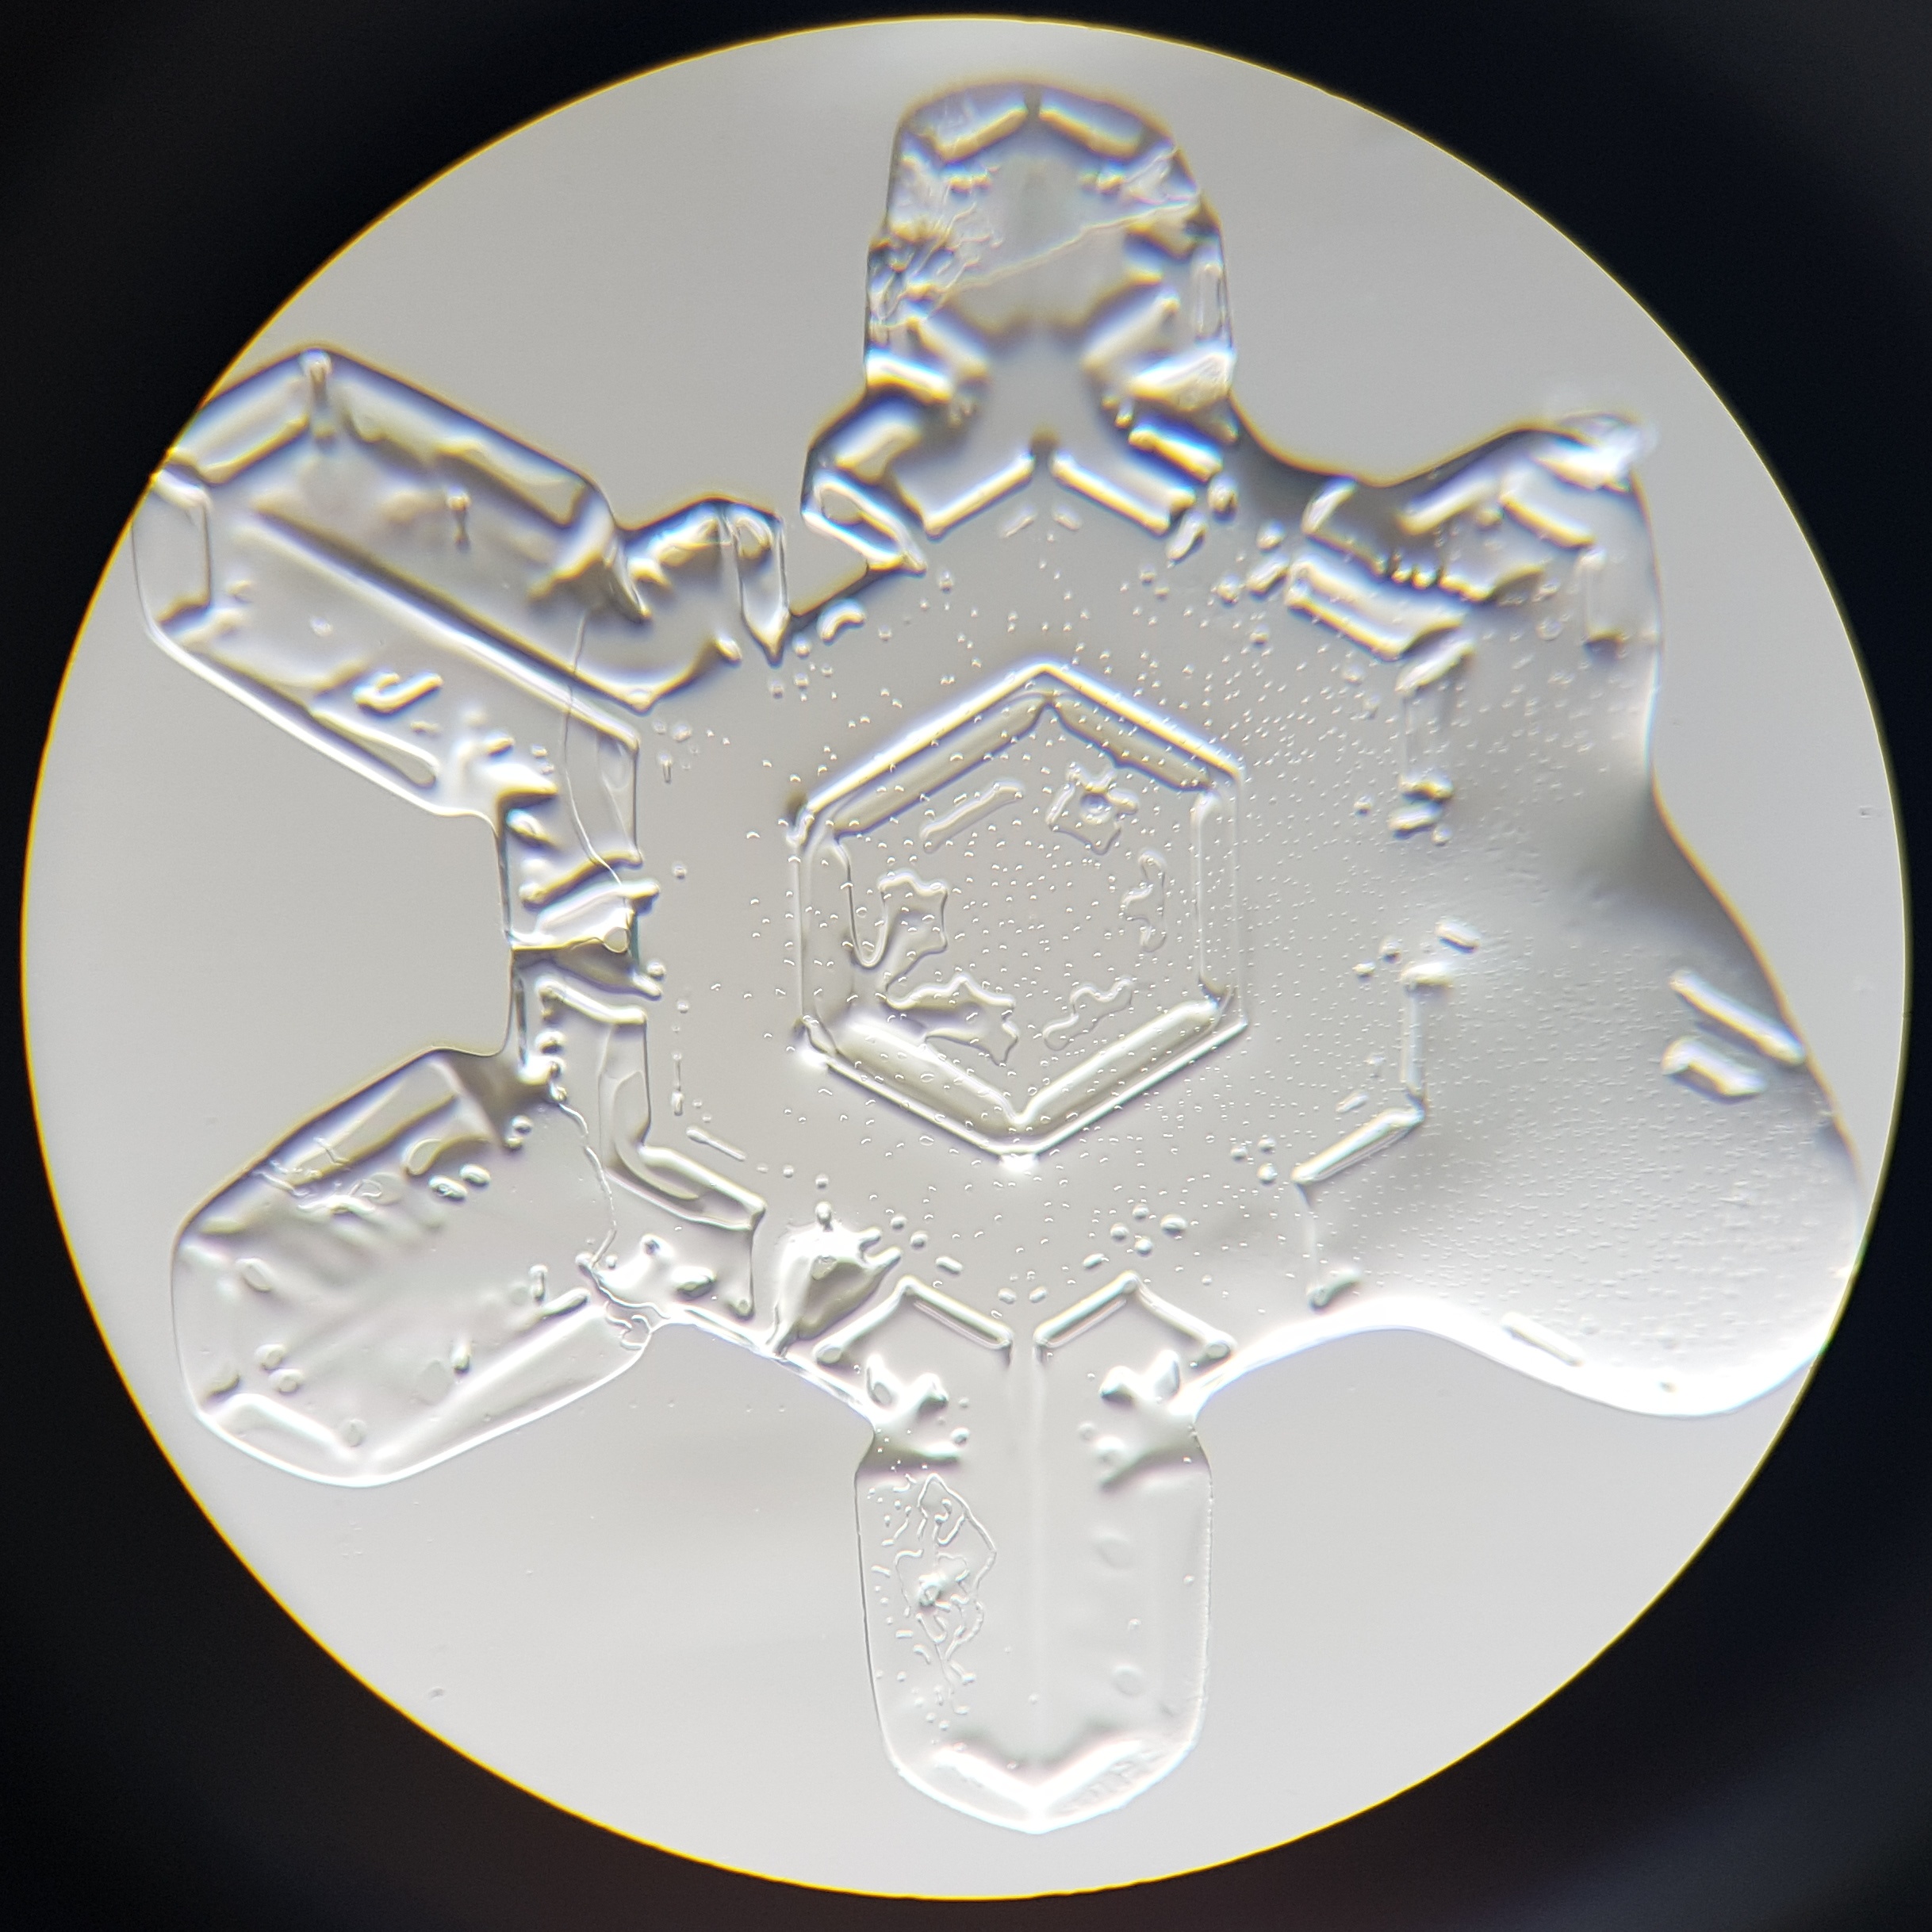
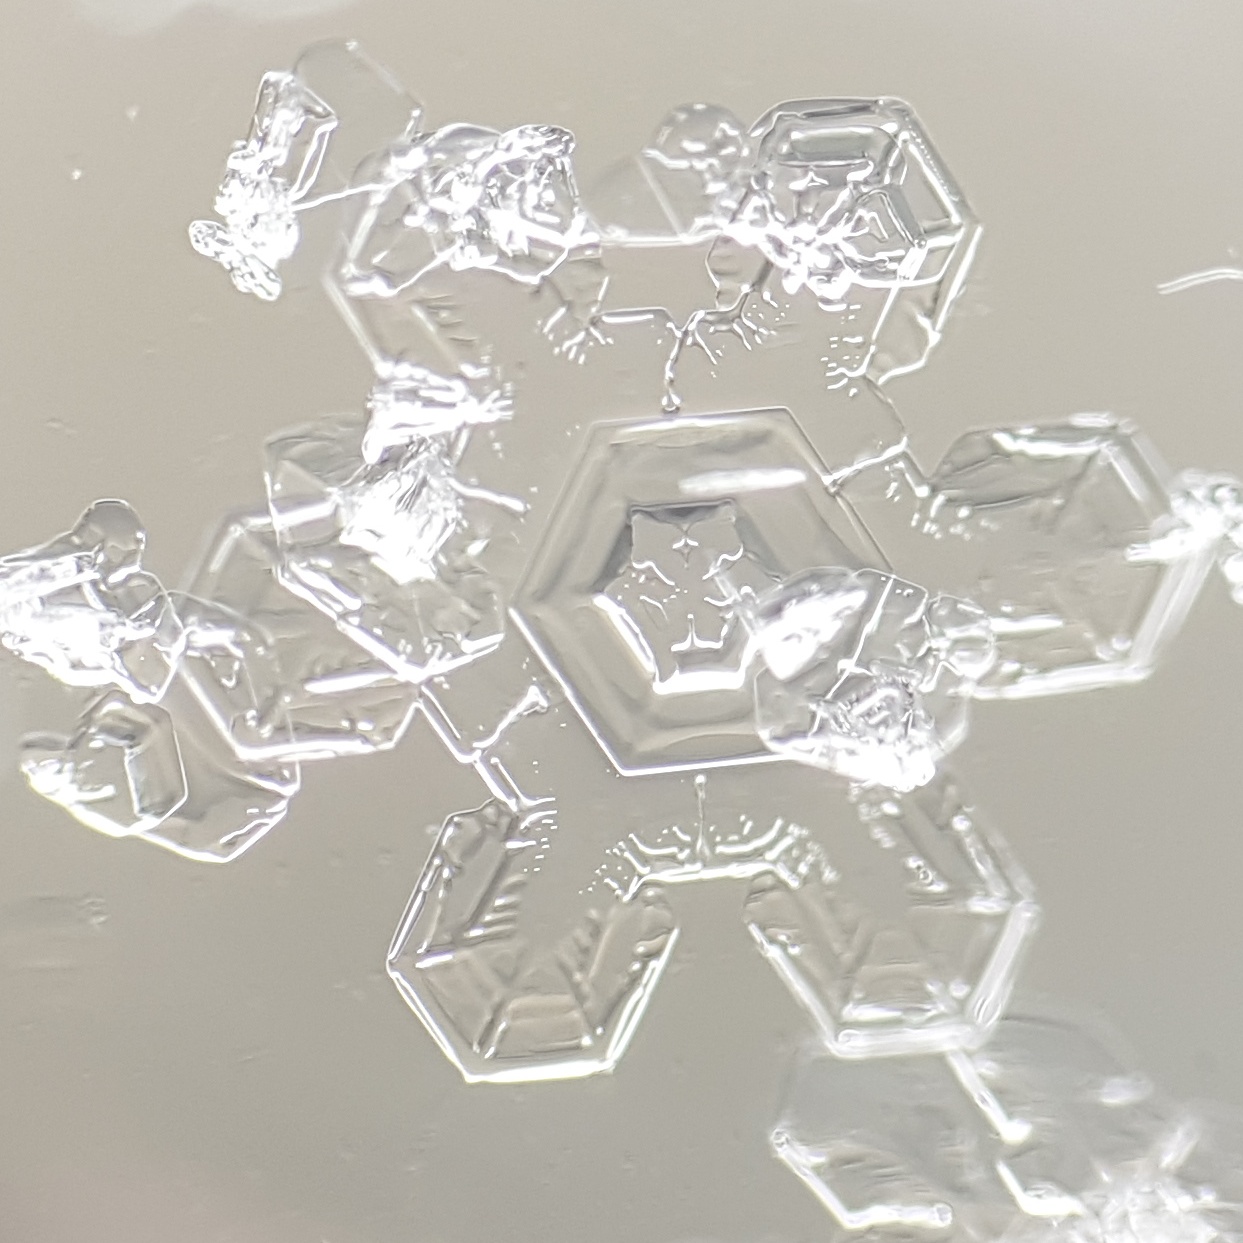
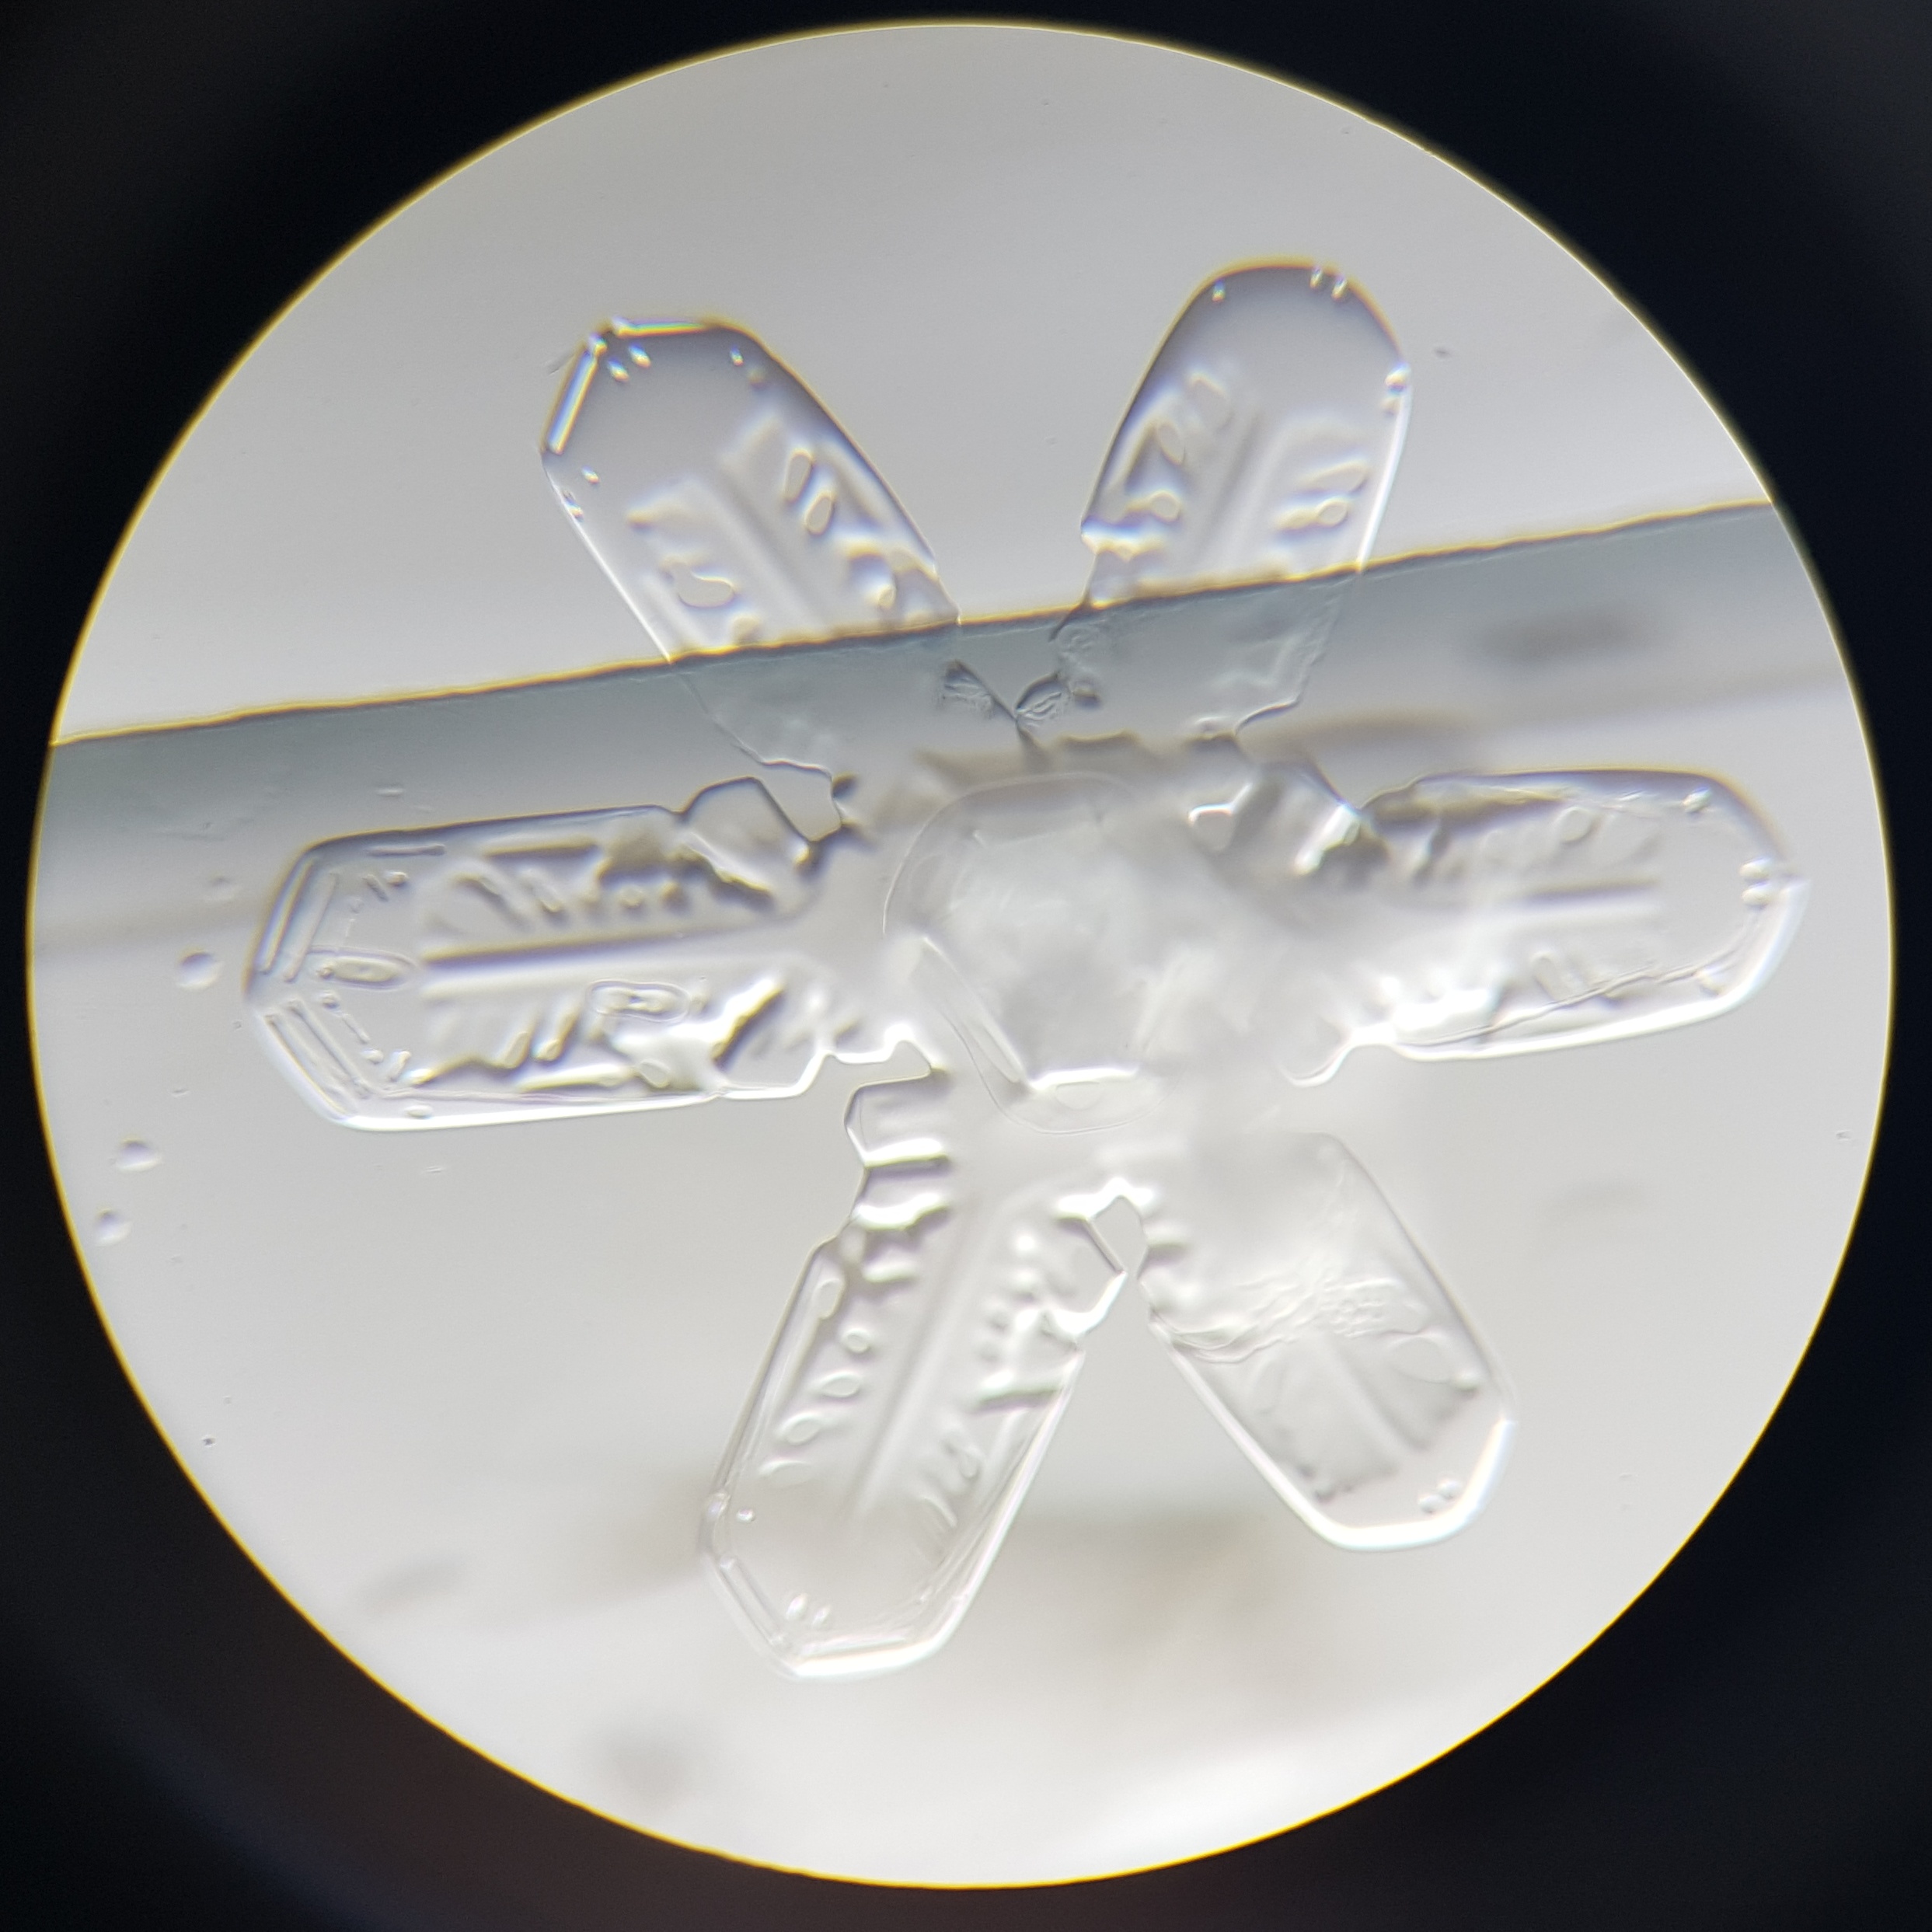
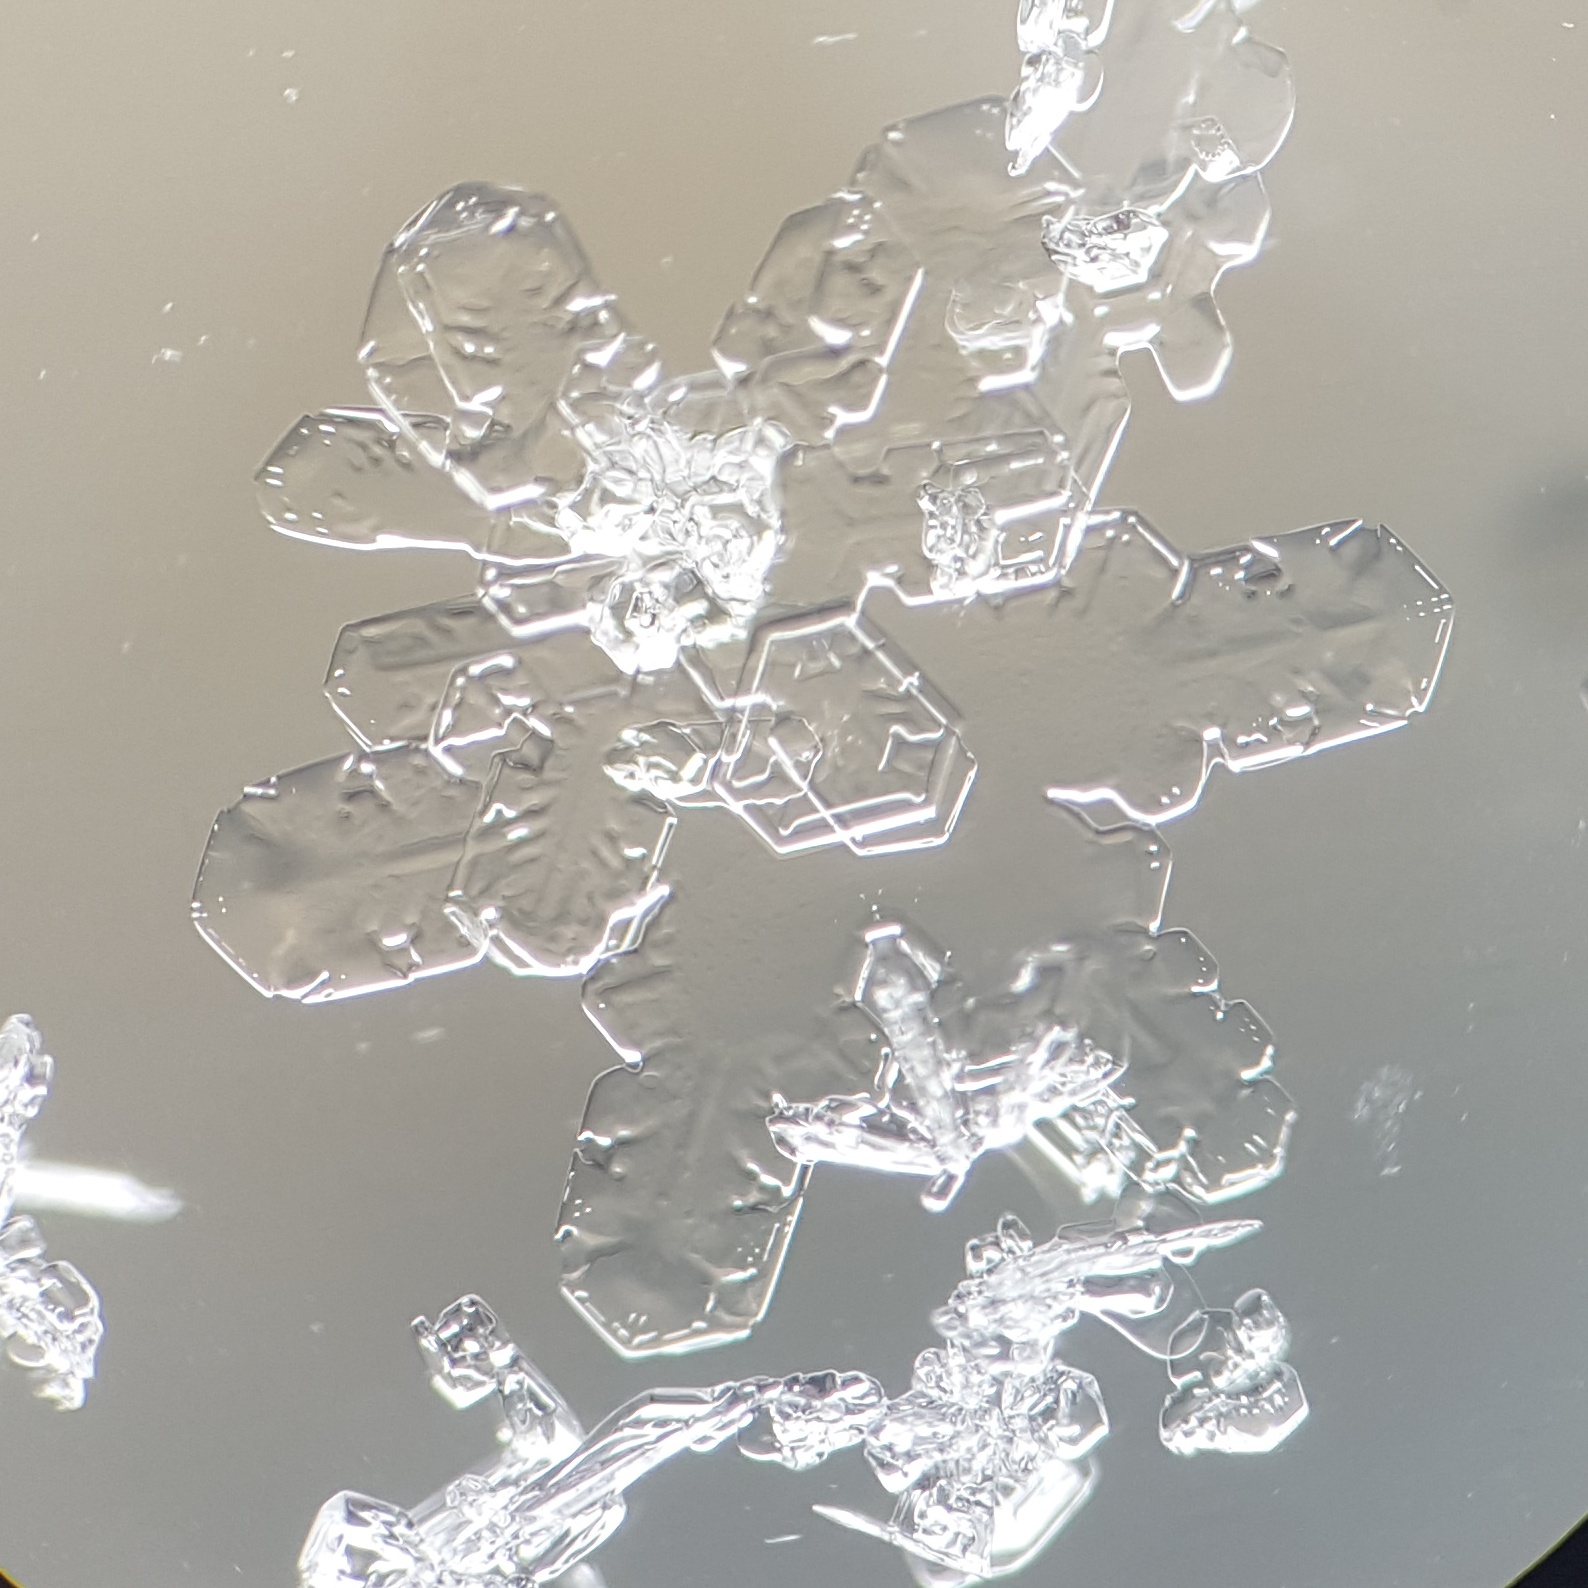
It all starts high up in the clouds. The so-called primordial crystal with its hexagonal basic shape is formed by a tiny ball of dust and water. Until the crystal falls to earth, it has to pass through various layers of air with different temperatures and humidity. Thus, the snow crystal reshapes itself again and again and the more humid the air is, the finer the arms are formed. If two ice crystals collide, they even form twelve-armed stars. However, the hexagonal ice crystals are the most common. The variety of shapes here is infinite and probably no two perfectly identical ice crystals have ever fallen from the sky.
Snowflakes are created by gluing the individual ice crystals together with small water droplets. The end result is a snowflake that looks like cotton wool.
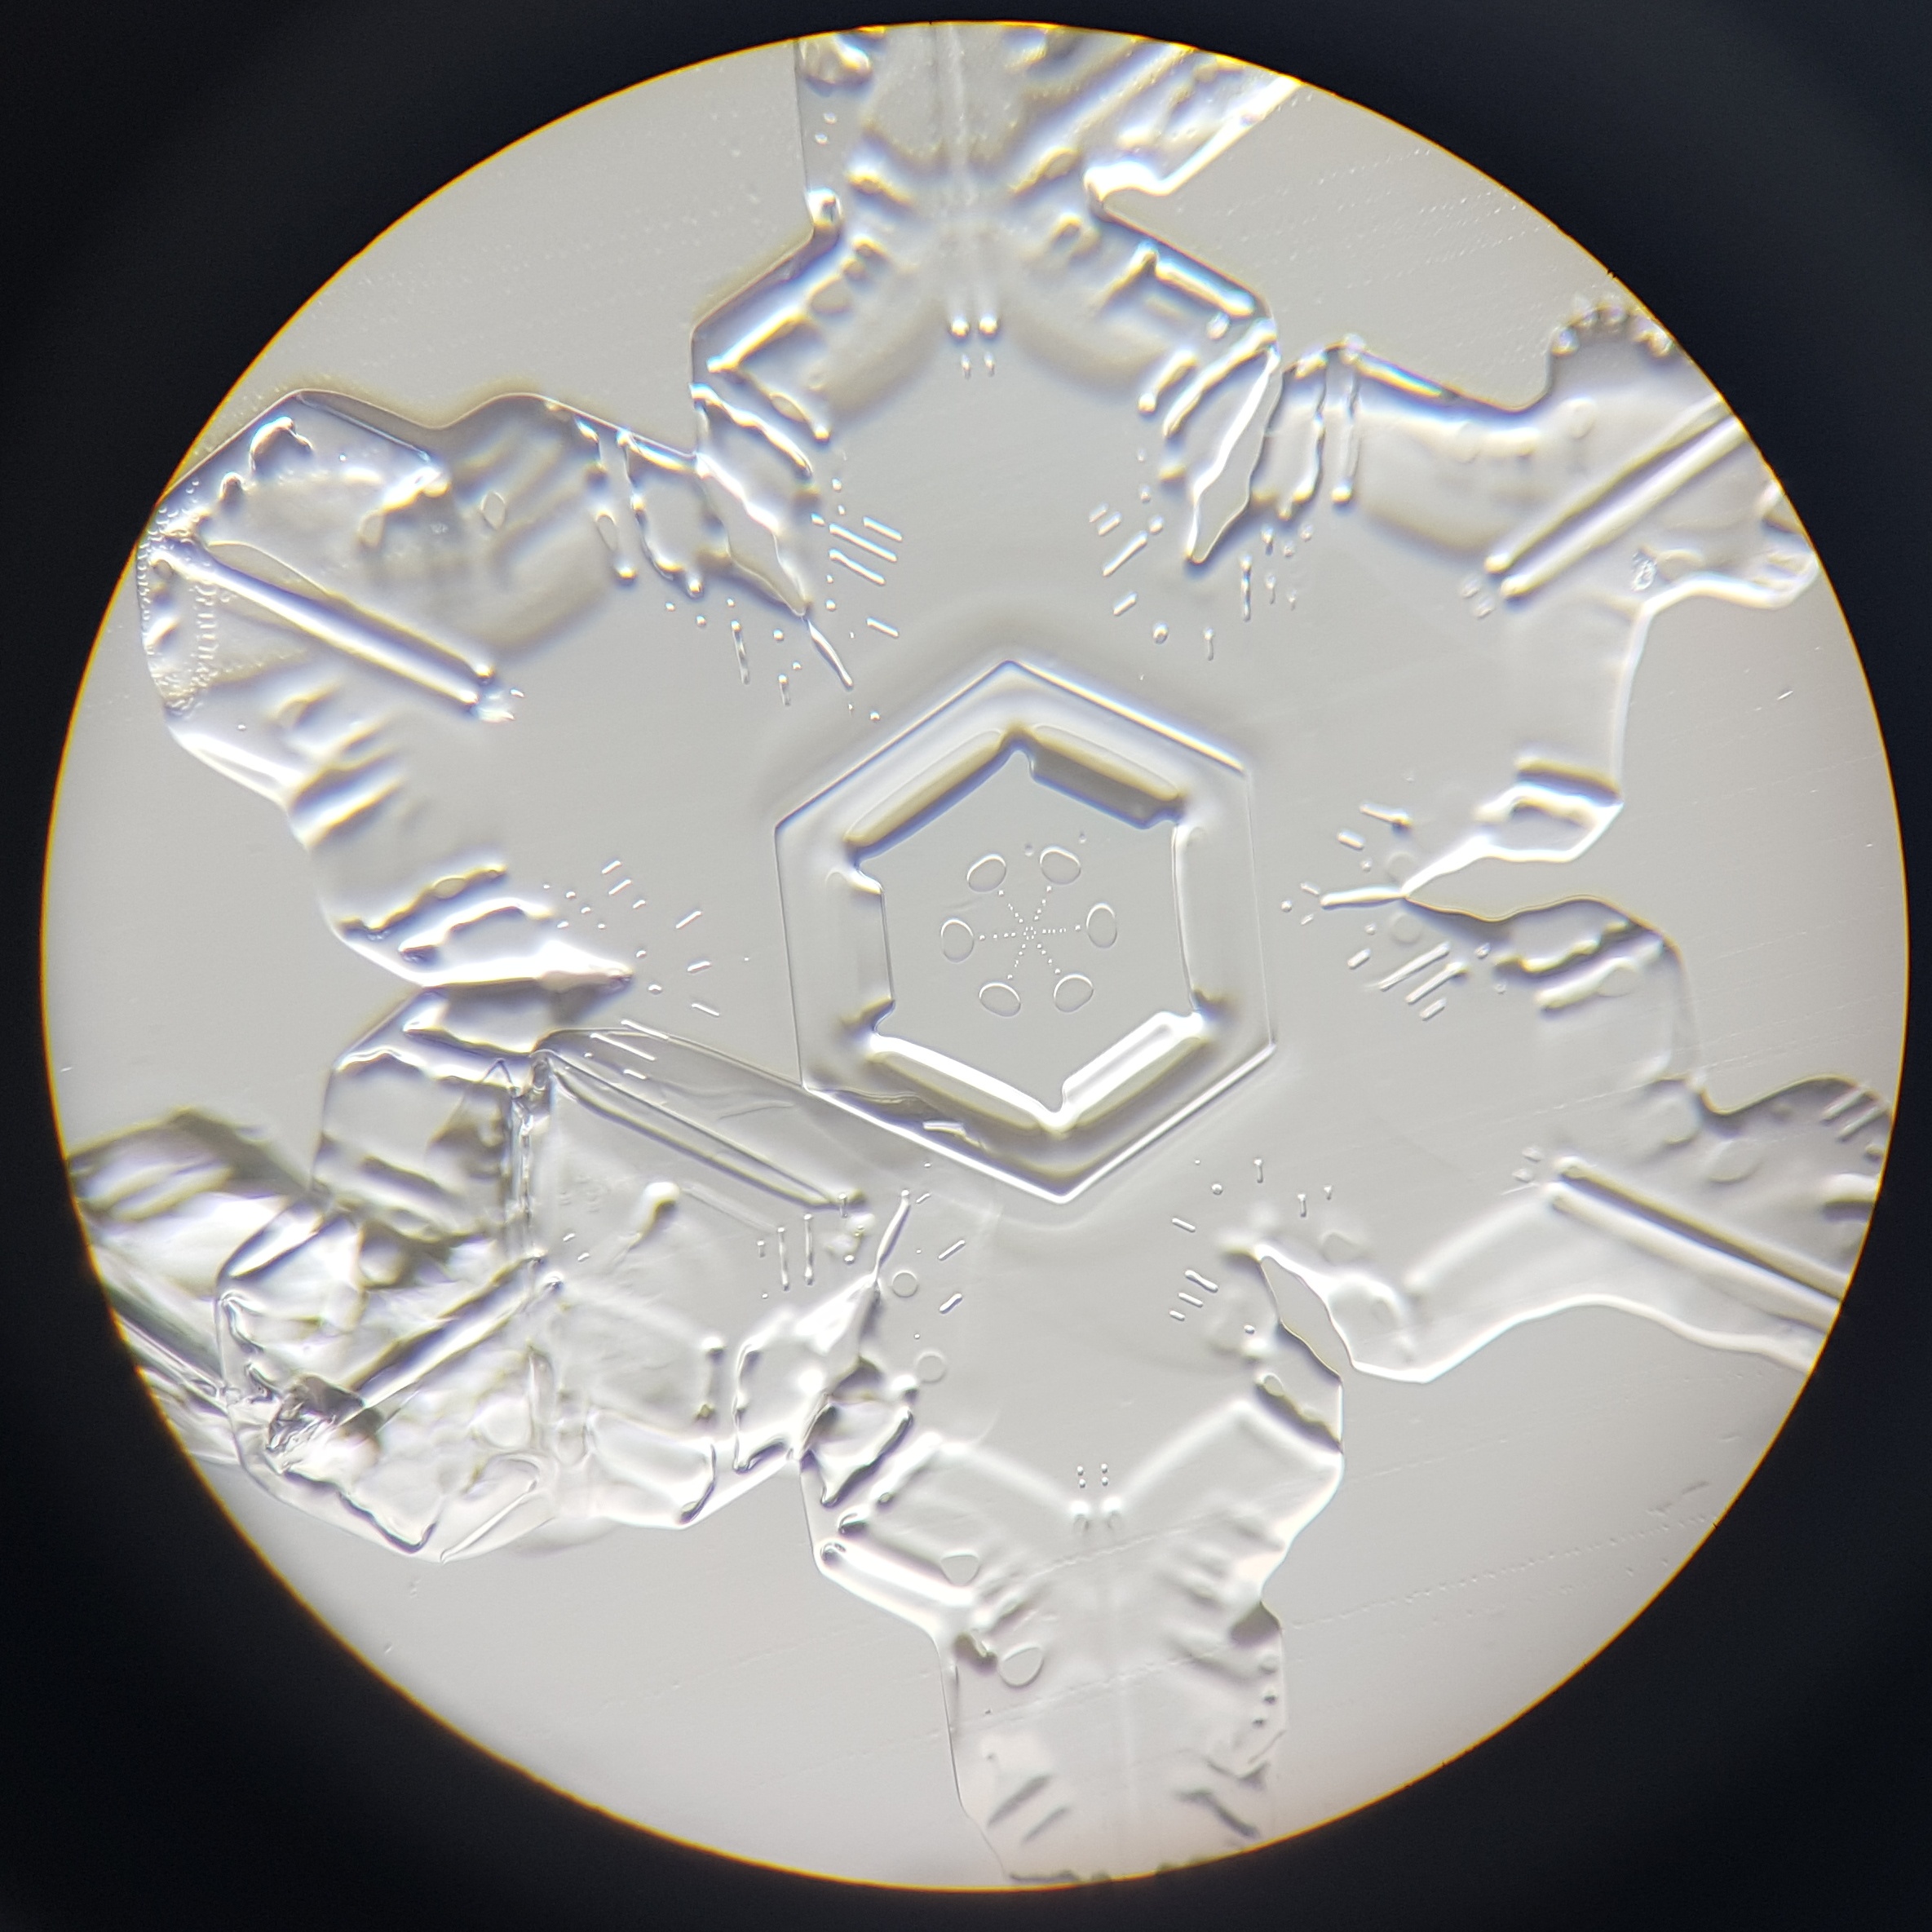
Why are ice crystals hexagonal?
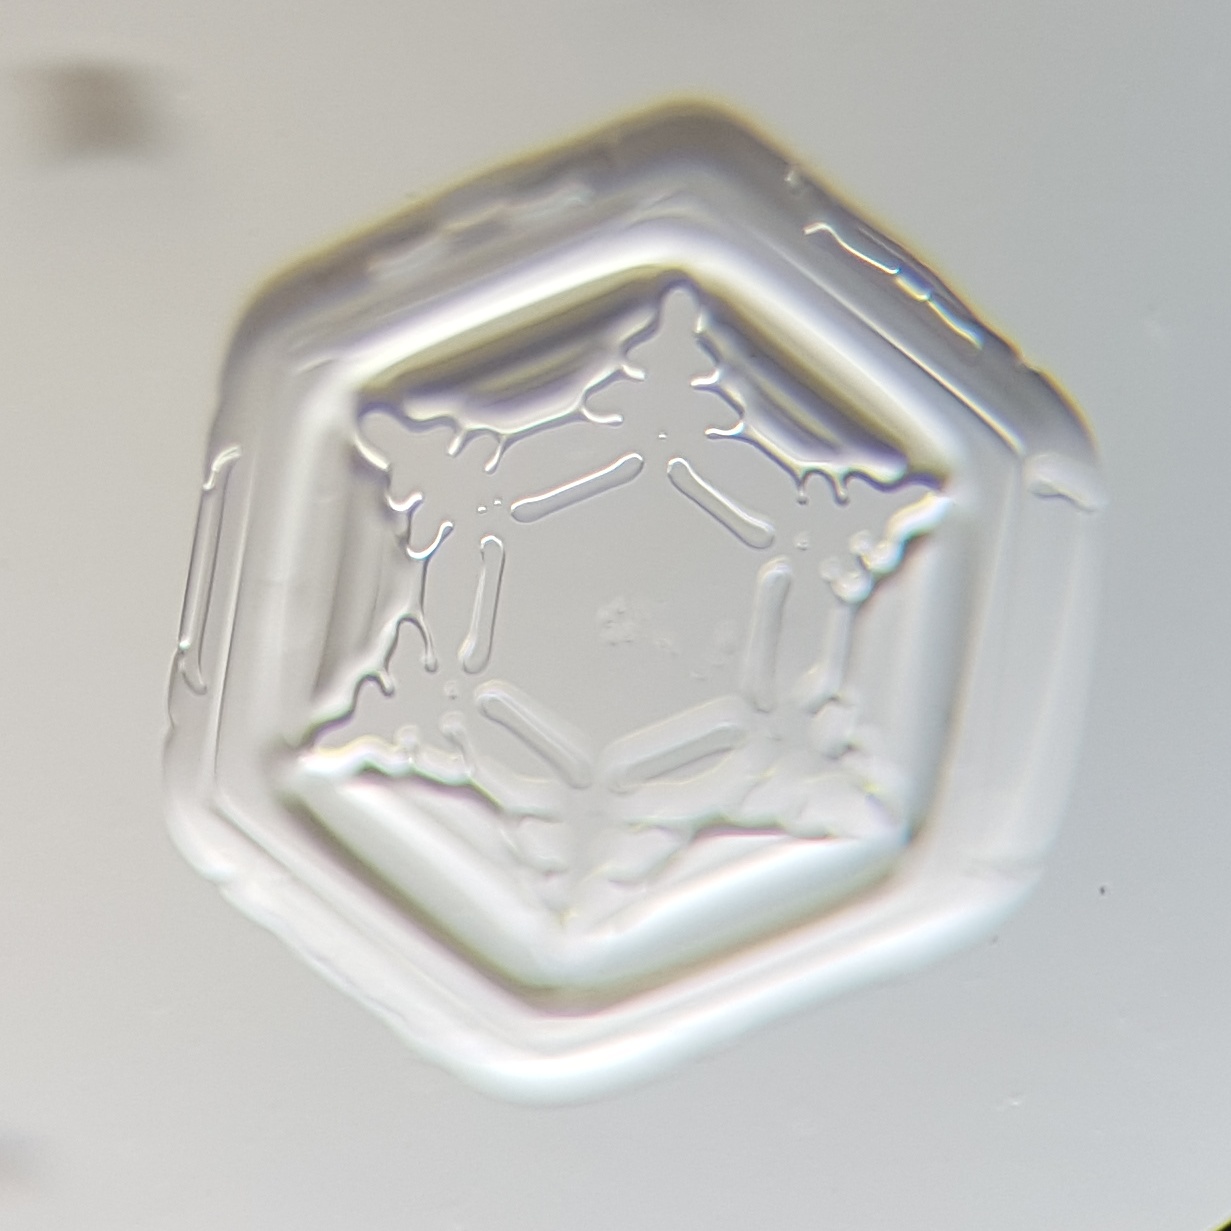
Put simply, the hexagonal symmetry comes from the arrangement of the water molecules in the ice crystal lattice. The structure is built exclusively on 60° or 120° angles and the hexagonal shape is simply a particularly helpful shape for crystals energetically for the water molecules
How do I microscope snowflakes?
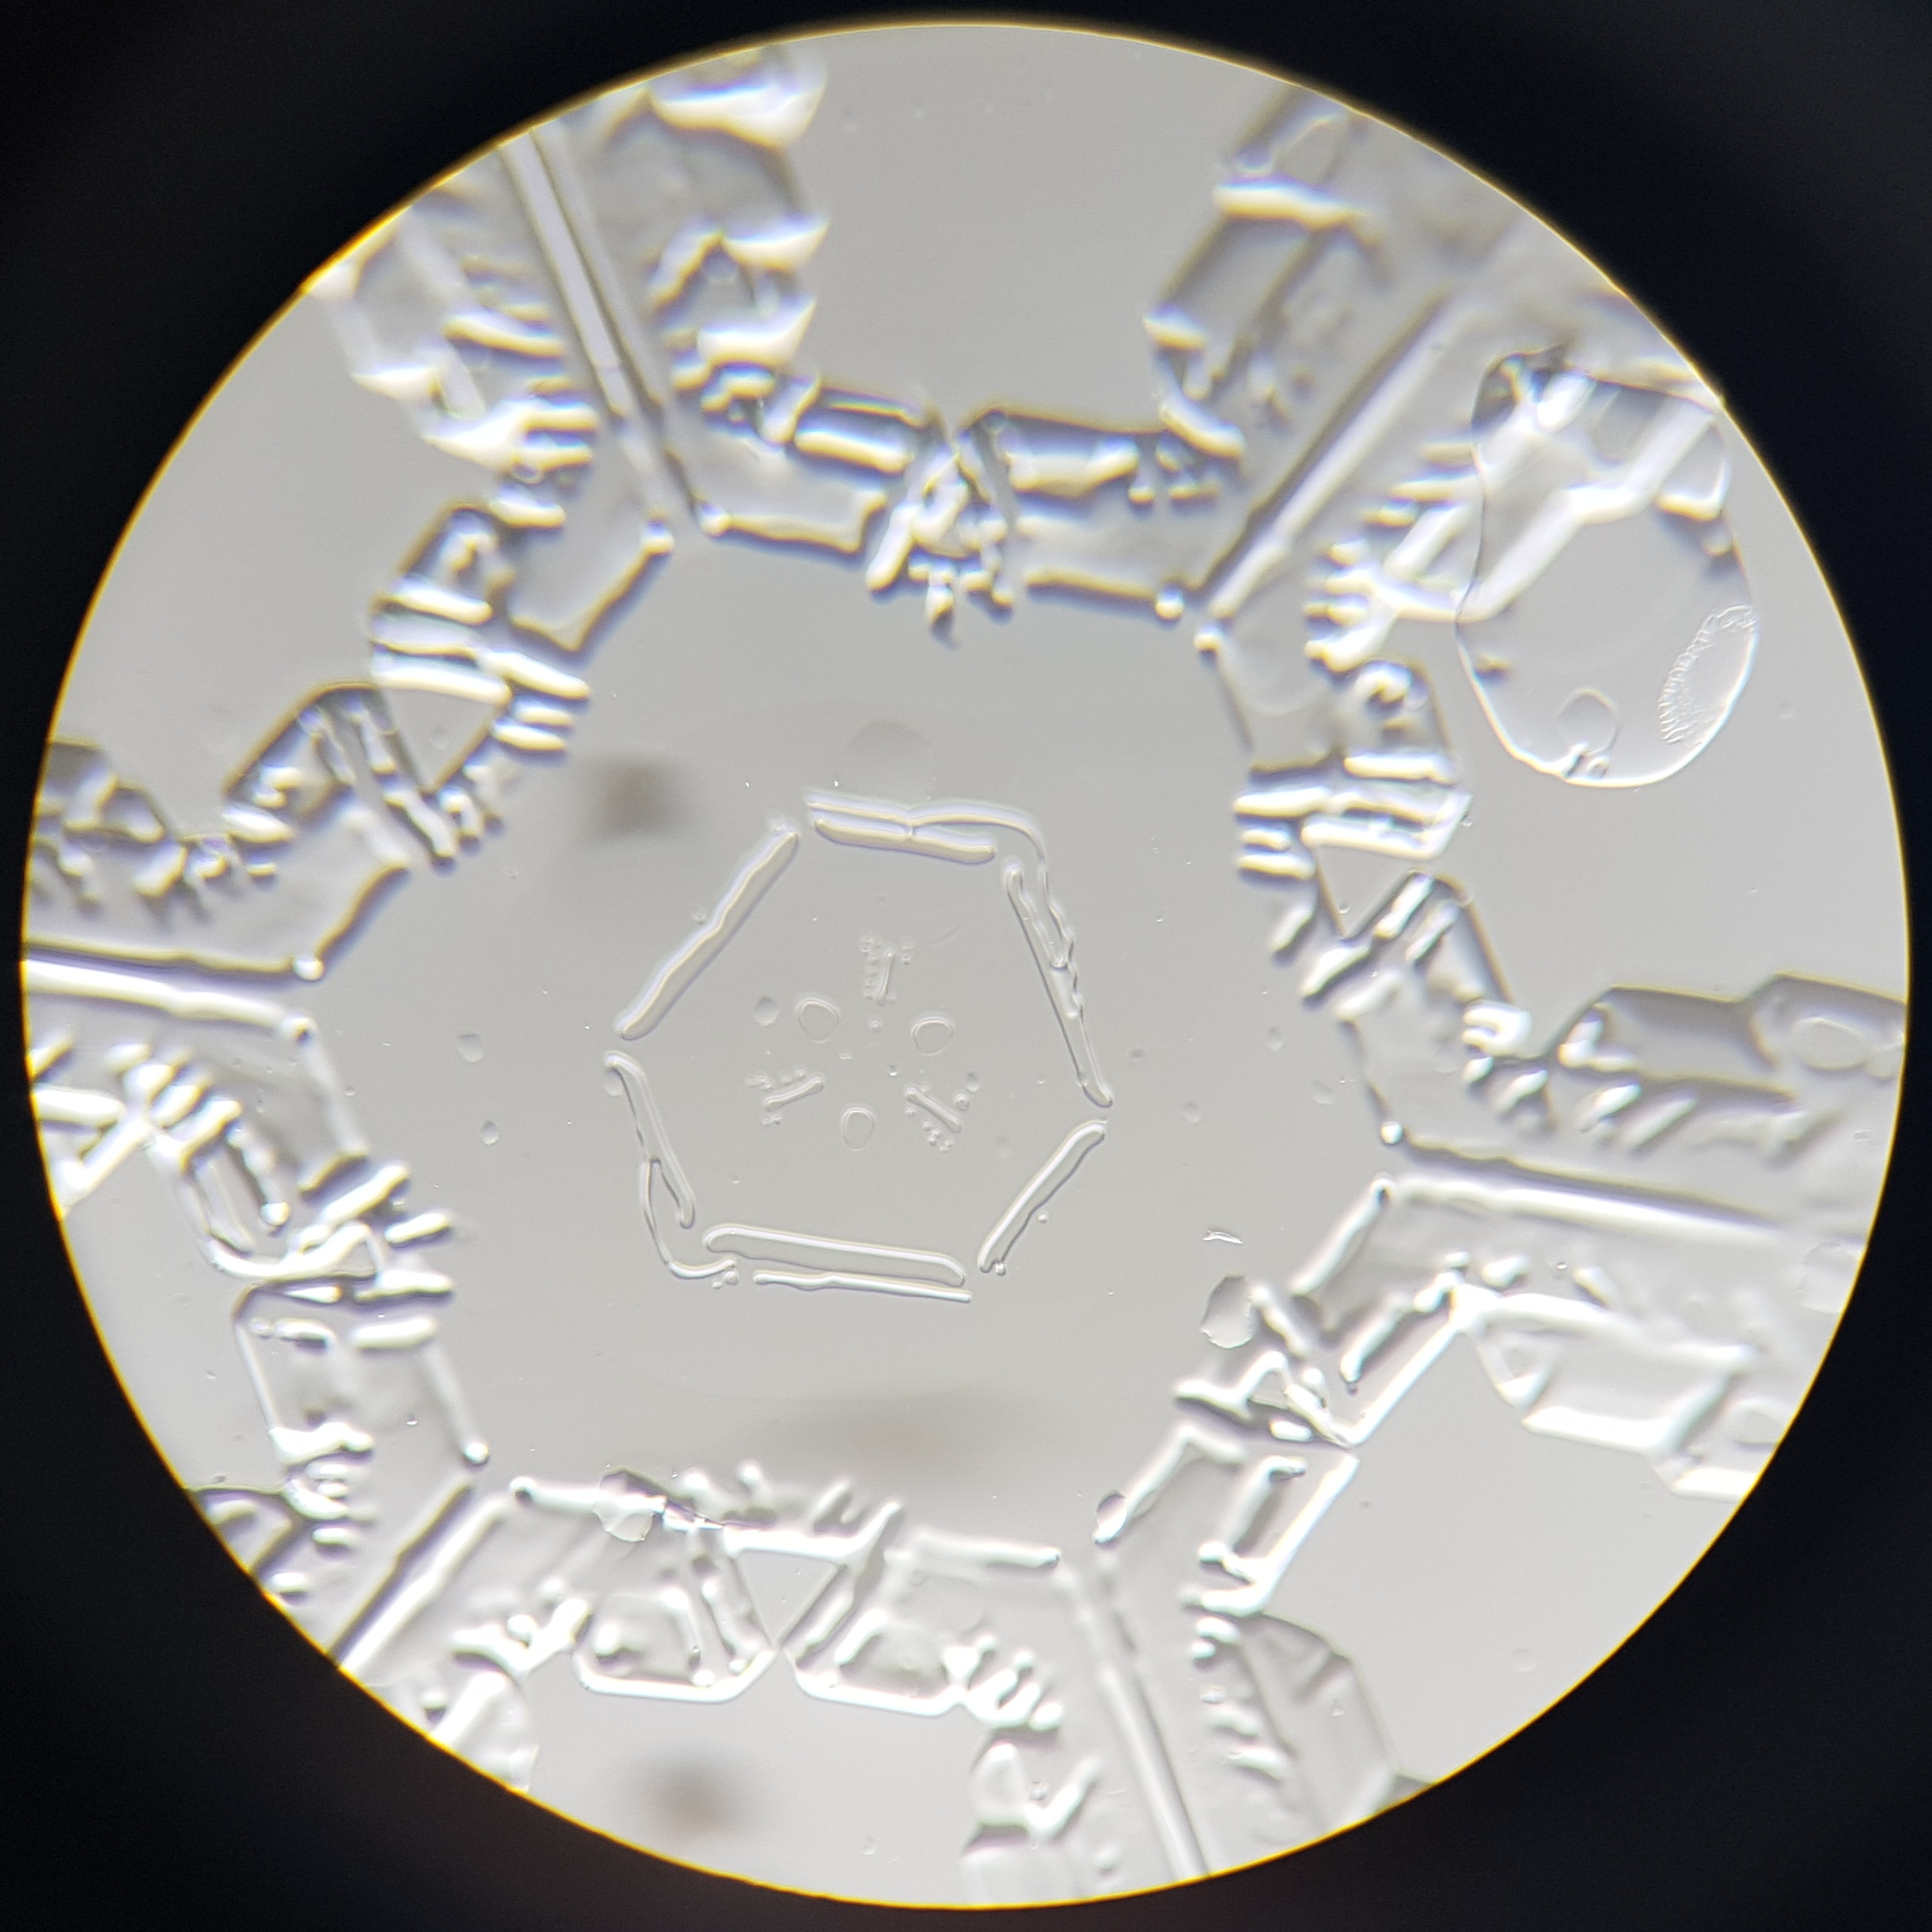
The most important prerequisite is, of course, beautiful snow crystals. Depending on the weather and temperature, often only unsightly needle-shaped crystals or platelets form, which grow together into larger lumps.
A magnifying glass helps to spot the "right" snow crystals, which tend to form when the humidity is high but the temperature is low. A calm weather situation without thermals is also advantageous.
Important for photography:
- Pre-cool the slides, preferably in a box outside or in the freezer
- Place a dark, wipeable surface outside, on which you can see and judge the crystals better
- Pack the microscope in a bag and put it outside for some time as well
- Battery-powered models are best, or for example the travel microscope with daylight only
- When everything has cooled down, place a few slides on the base next to each other and wait for "matching" snowflakes to appear
- Wipe the slide from time to time so that the layer does not become too thick and it is easier to find the good crystals.
Important: After taking the pictures, be sure to repack the microscope outside and only then bring it into a warm flat. Leave it in its packaging for a few hours, then unpack it and ventilate it well so that any remaining moisture can dry off. Dab any objectives or eyepieces that have become damp with soft paper towels and, if necessary, clean them with a damp cloth for cleaning glasses.
By the way, the most famous microscopic photographs of snowflakes were taken by Wilson Bentley, known as "Snowflake Bentley", who took over 5,000 photographs of snow crystals from 1885 onwards:
Wikipedia Wilson Bentley
From him comes the thesis that there are no two snow crystals that look exactly the same.